
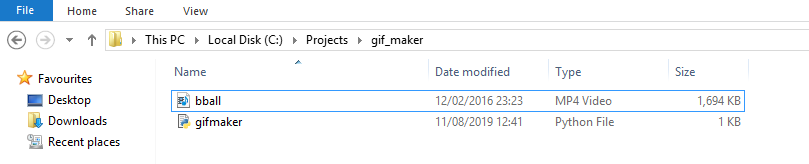
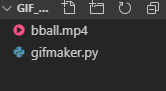
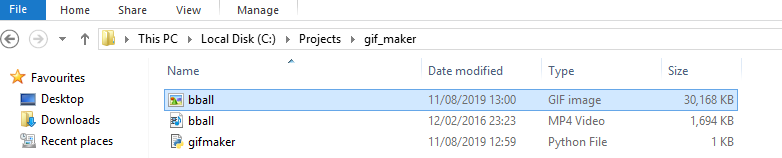
#Create a folder called gif_maker
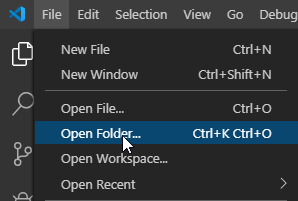

#Create a new file in Visual Studio Code under this project called ‘gifmaker’


#Put your video clip in this folder
#Open a new terminal and install the following using cmd in the terminal

pip install imageio imageio-ffmpeg

# You won’t need the terminal again for now
# Add the following imports to your new gifmaker page
import imageio
import os
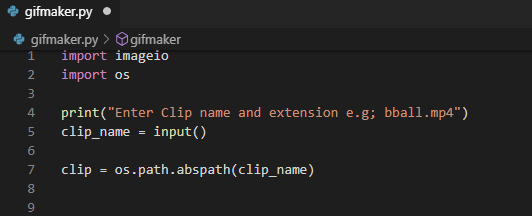
# I made it interactive so the user has to input the name and extension of the file (as saved in the folder when prompted. exhibit a
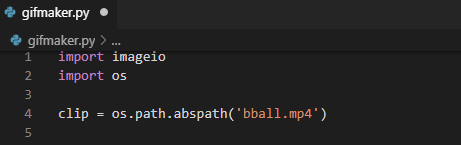
# If you want the user to have to edit the literal code then insert as exhibit b shows
# After you have chosen to copy exhibit a or exhibit b then follow the rest of the code as shown below in the image. I have written it below for you to be able to copy and paste too.
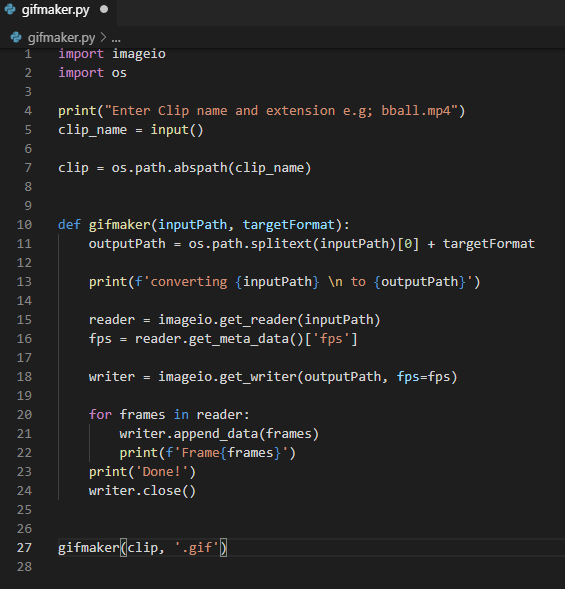
import imageio
import os
print("Enter Clip name and extension e.g; bball.mp4")
clip_name = input()
clip = os.path.abspath(clip_name)
def gifmaker(inputPath, targetFormat):
outputPath = os.path.splitext(inputPath)[0] + targetFormat
print(f'converting {inputPath} \n to {outputPath}')
reader = imageio.get_reader(inputPath)
fps = reader.get_meta_data()['fps']
writer = imageio.get_writer(outputPath, fps=fps)
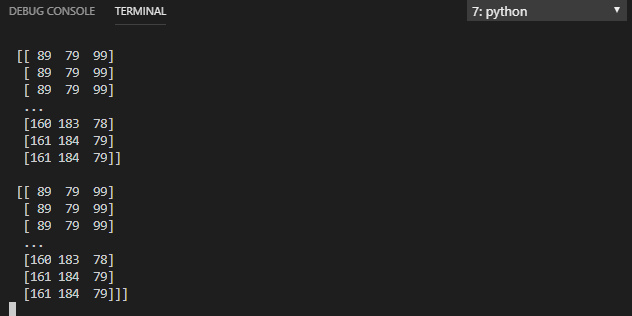
for frames in reader:
writer.append_data(frames)
print(f'Frame{frames}')
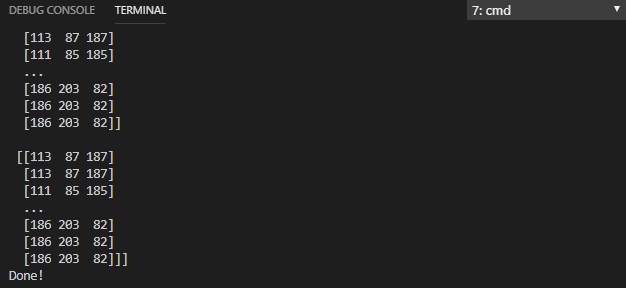
print('Done!')
writer.close()
gifmaker(clip, '.gif')# Once all code is completed you can save and run the application in a terminal

# The app will now load. If you went for exhibit a (interactive). The user will be prompted to enter the file name
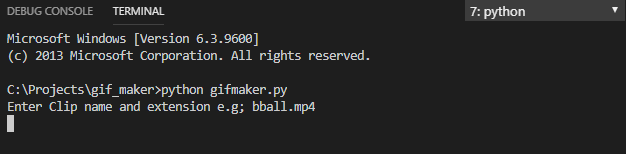
#Enter exactly the file name with the extension as it appears in the folder
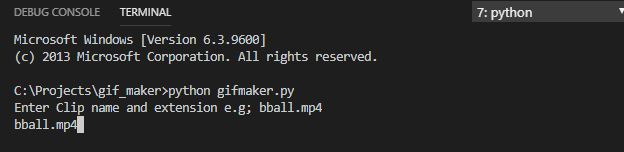
#Press enter and watch your gif get created!
#When it is completed you will see your message “Done!”. Got to your folder and see your gif!
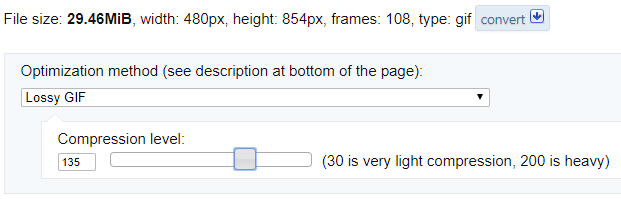
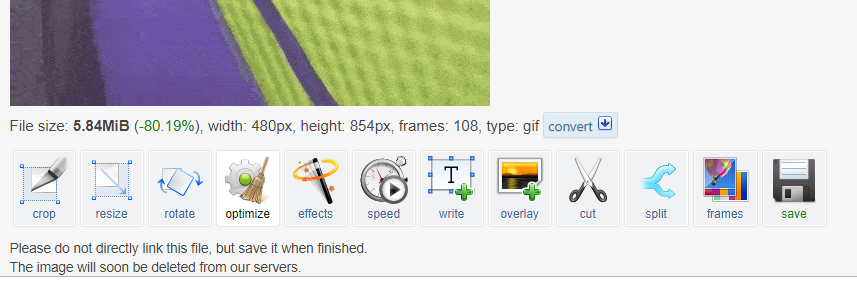
# I Compress these files using the website below
#Compress your gif file size here

Any Thoughts?